How To Create And Manage RinkNet Player Agreements
How To Create And Manage RinkNet Player Agreements
This guide provides a comprehensive walkthrough for creating, updating, and managing player agreements within the RinkNet ContractCenter. Learn how to input necessary contact details, configure contract terms, and efficiently process agreement statuses.
1. Click on the RinkNet Contract tile from https://accounts.rinknet.com
Agreement Configuration
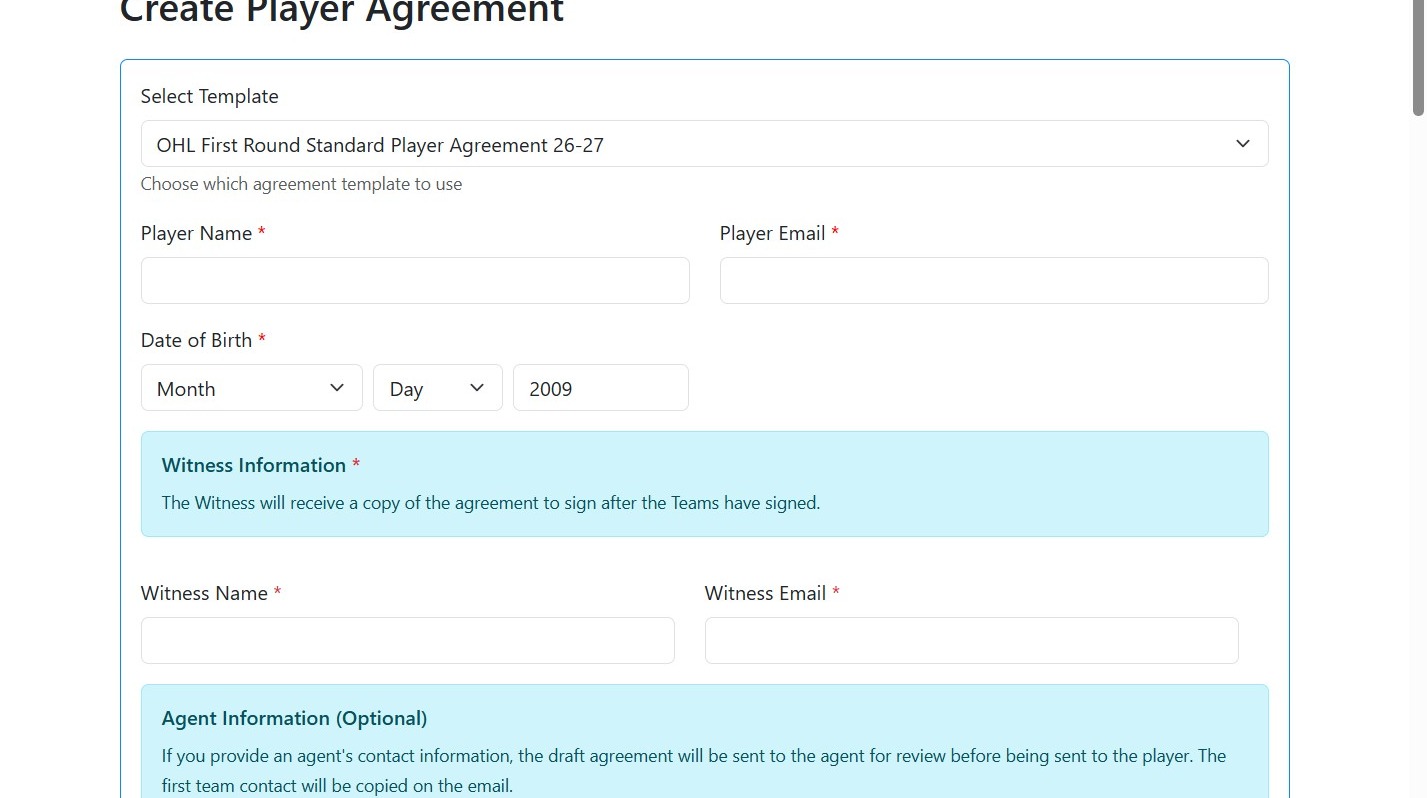
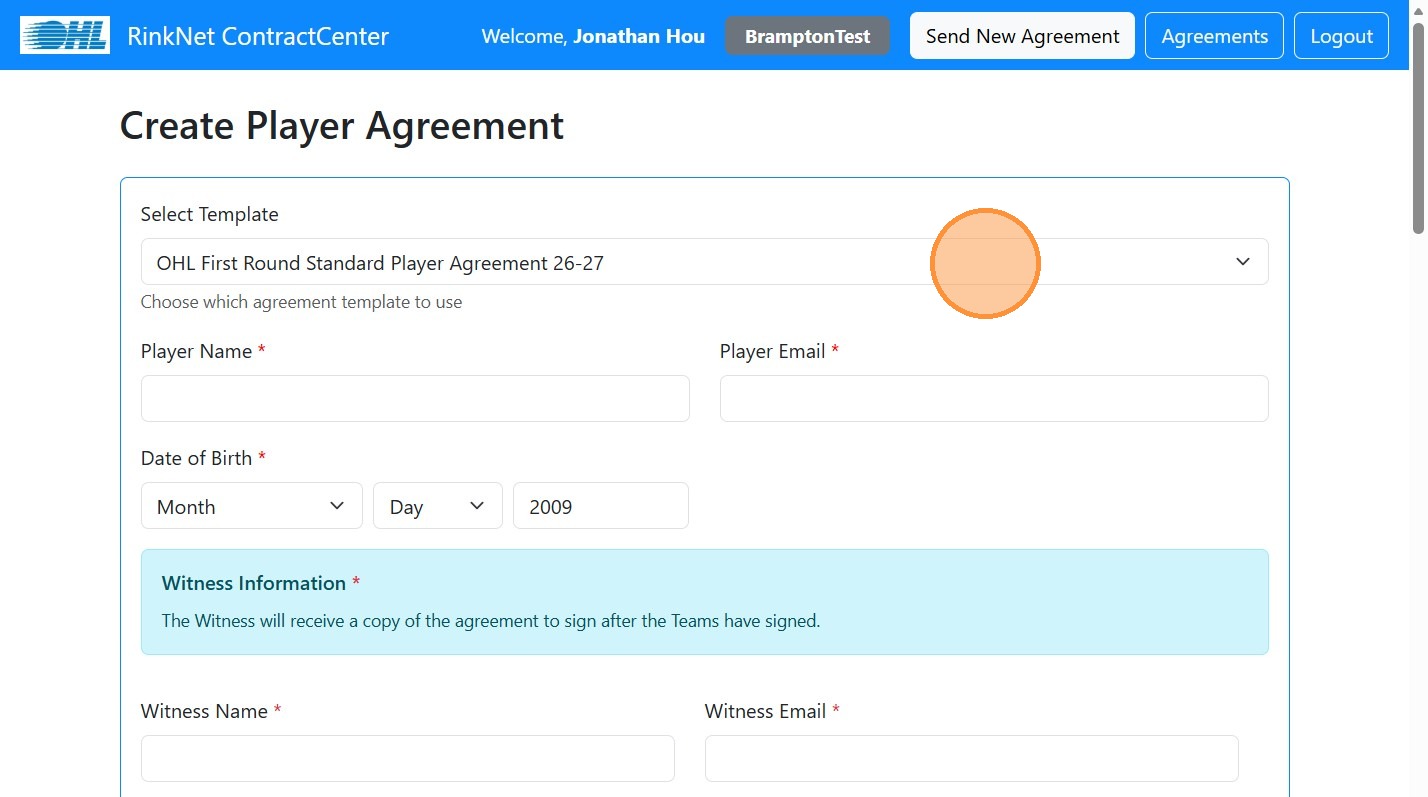
2. Select agreement template from dropdown menu.
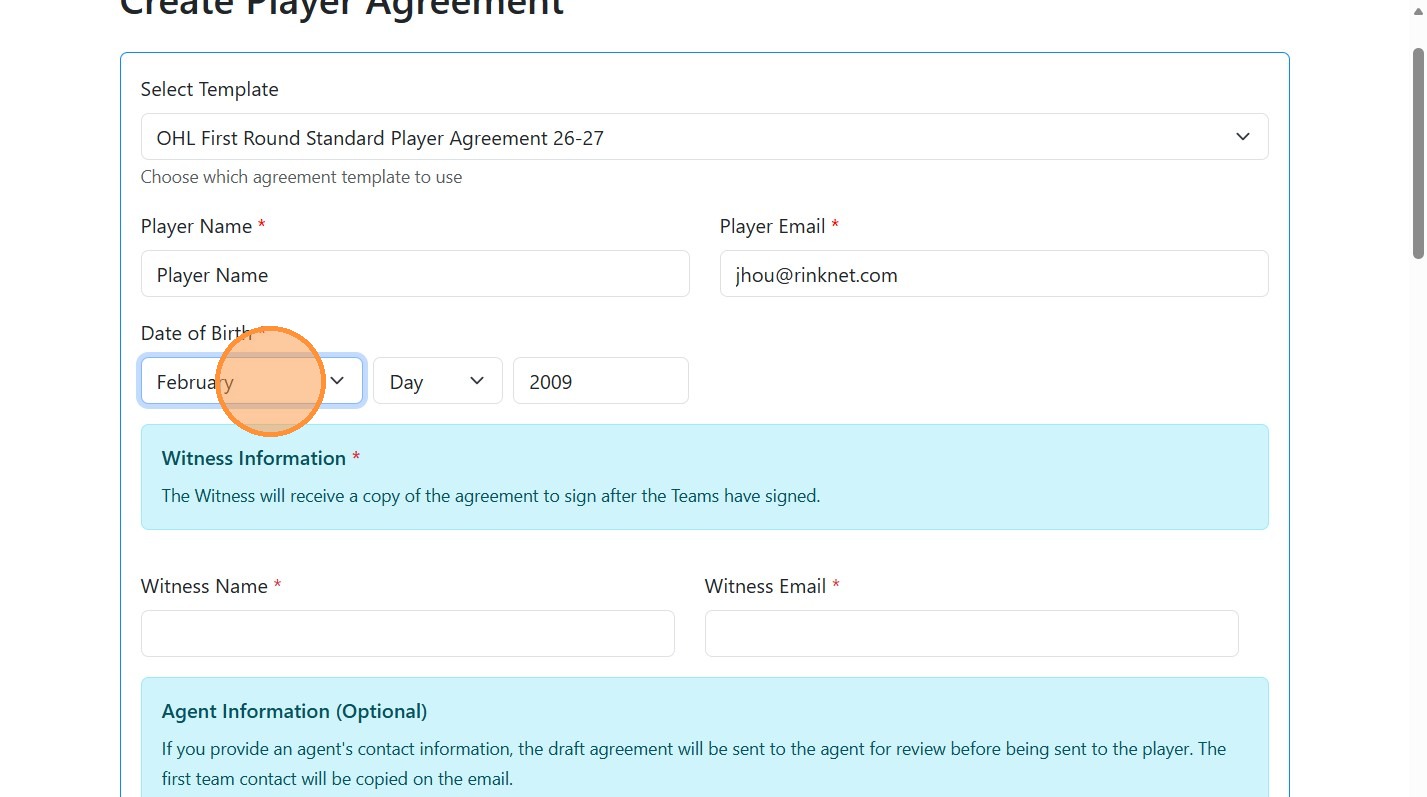
3. Type the Player Name and Email Address.
4. Enter their Date of Birth.
5. If the player is a minor, you will need to enter details for their Guardian.
6. Enter the Witness details, who will sign after the teams have signed.
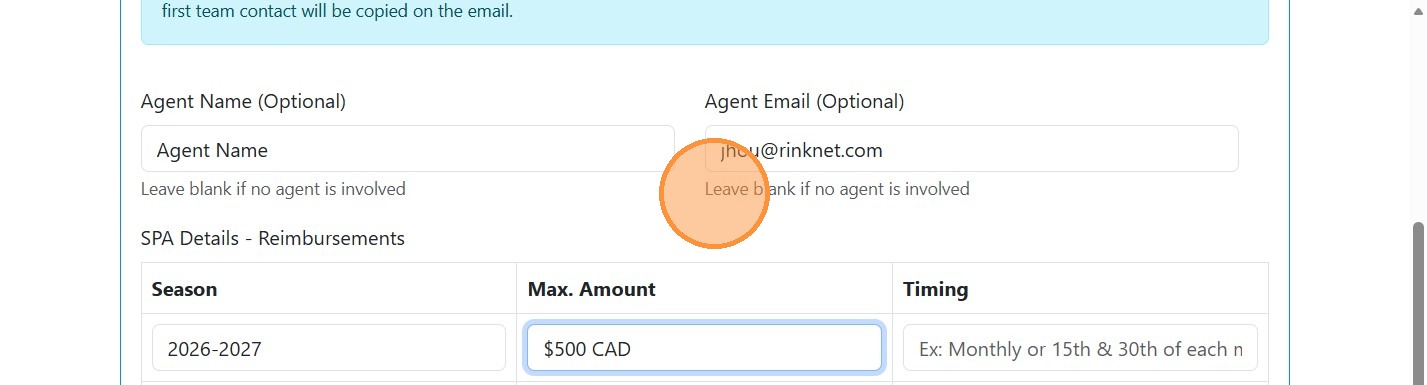
7. If you working through the player's agent, you can specify the agent details here. This will send a copy of the Permissible Benefits to the agent to review and confirm before it is sent to the player.
Benefits and Reimbursements
8. Click the "Ex: $470 CAD" field.
9. Click 'Send Agreement' to finalize and submit.

Agreement Status and Management
10. If an Agent was specified, they will receive an email to review the Permissible Benefits before the contract is sent to the players.
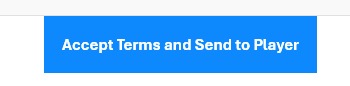
11. Once the agent reviews, they can click on Accept Terms to have the Agreement sent to the Player for review.
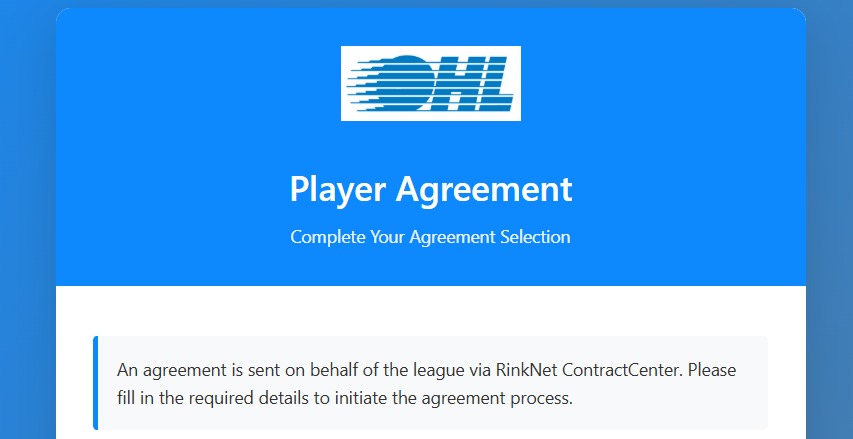
12. The Player will then receive an email to specify their legal details.
13. This will go then through the signing workflow: Lawyer, Player, Guardian, Team (up to 2 signatures), Witness, League
Other functions
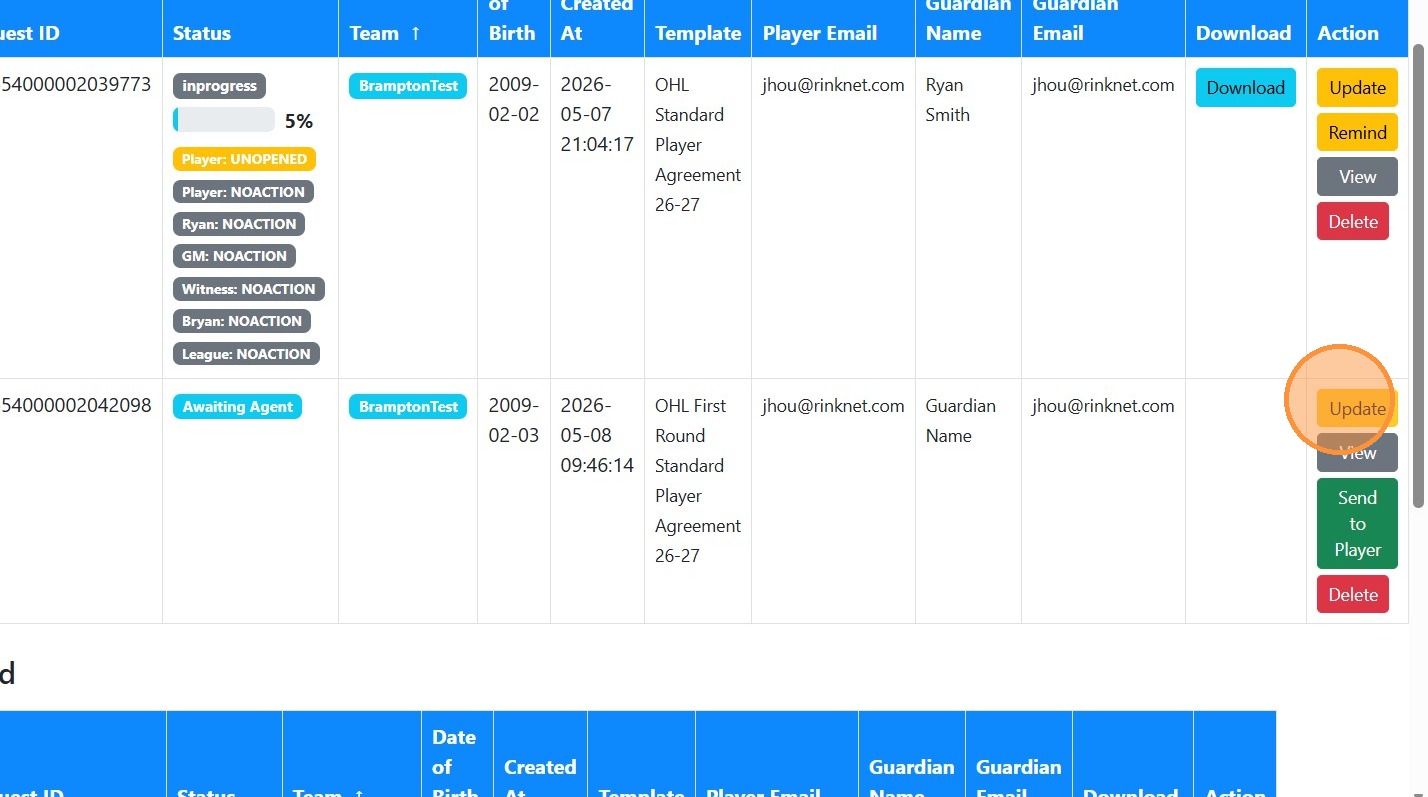
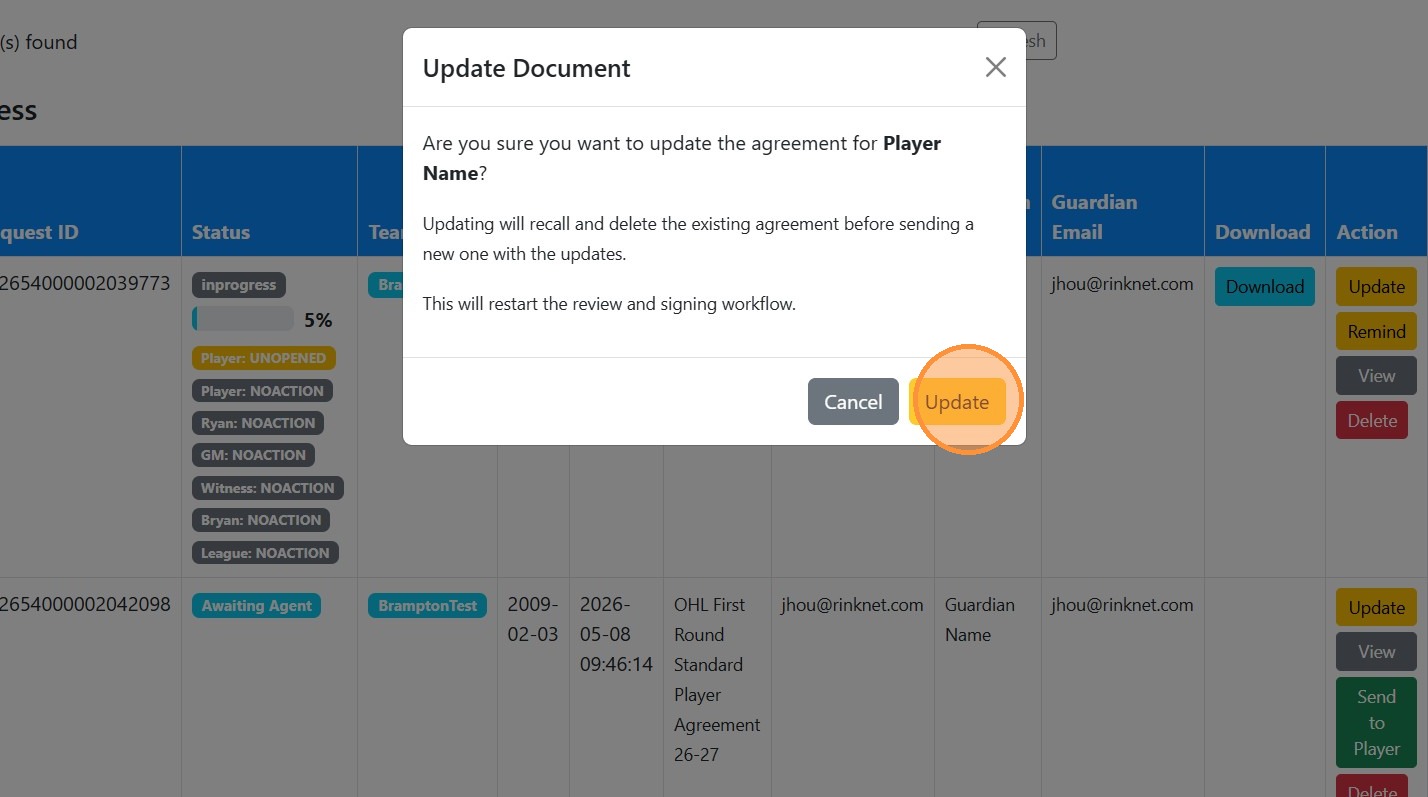
14. To update and agreement, click 'Update' to modify an existing agreement in the "Agreements" view.
15. Confirm update in modal.
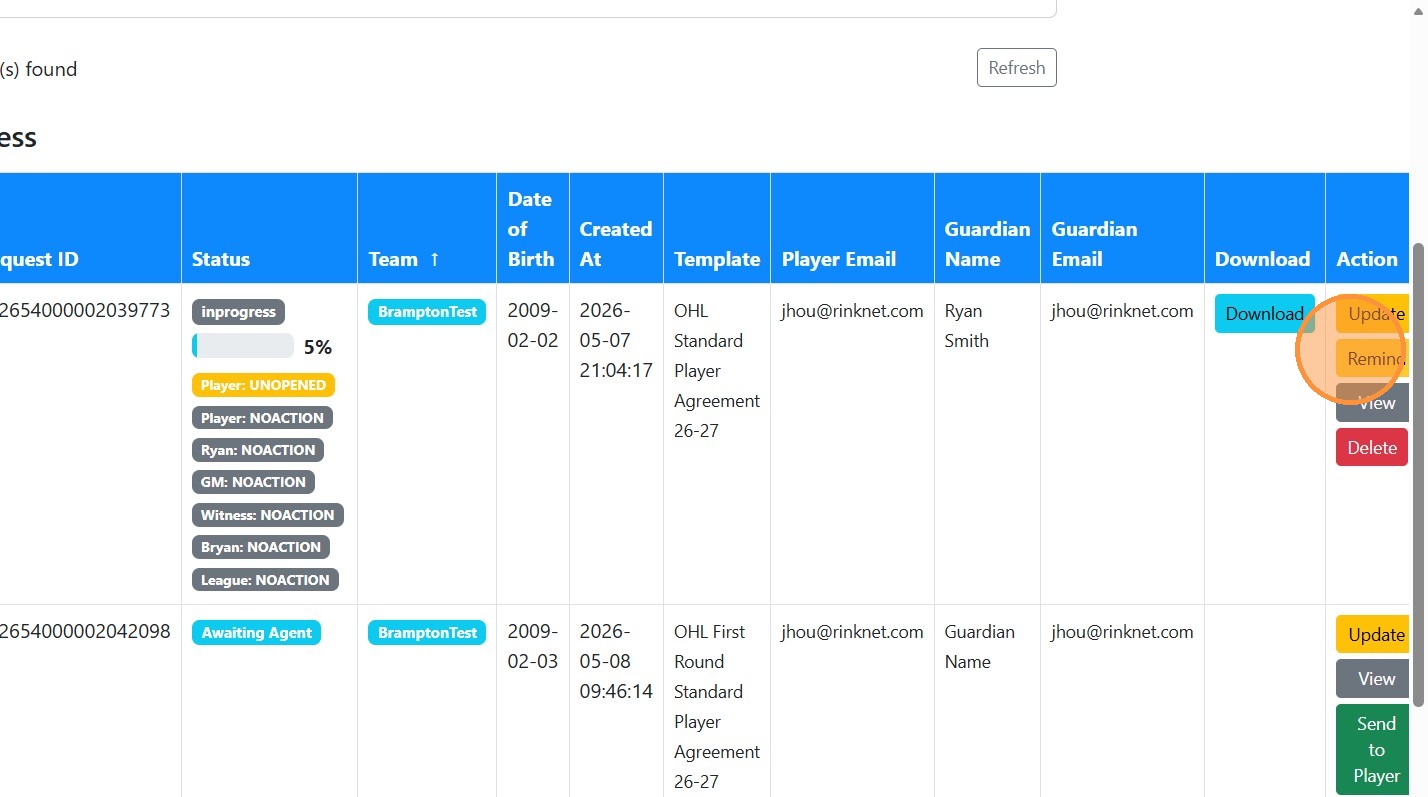
16. To download a copy of the agreement, click 'Download' to save agreement.

17. If a party did not receive an email with the contract, you can click 'Remind' to send notification reminder.
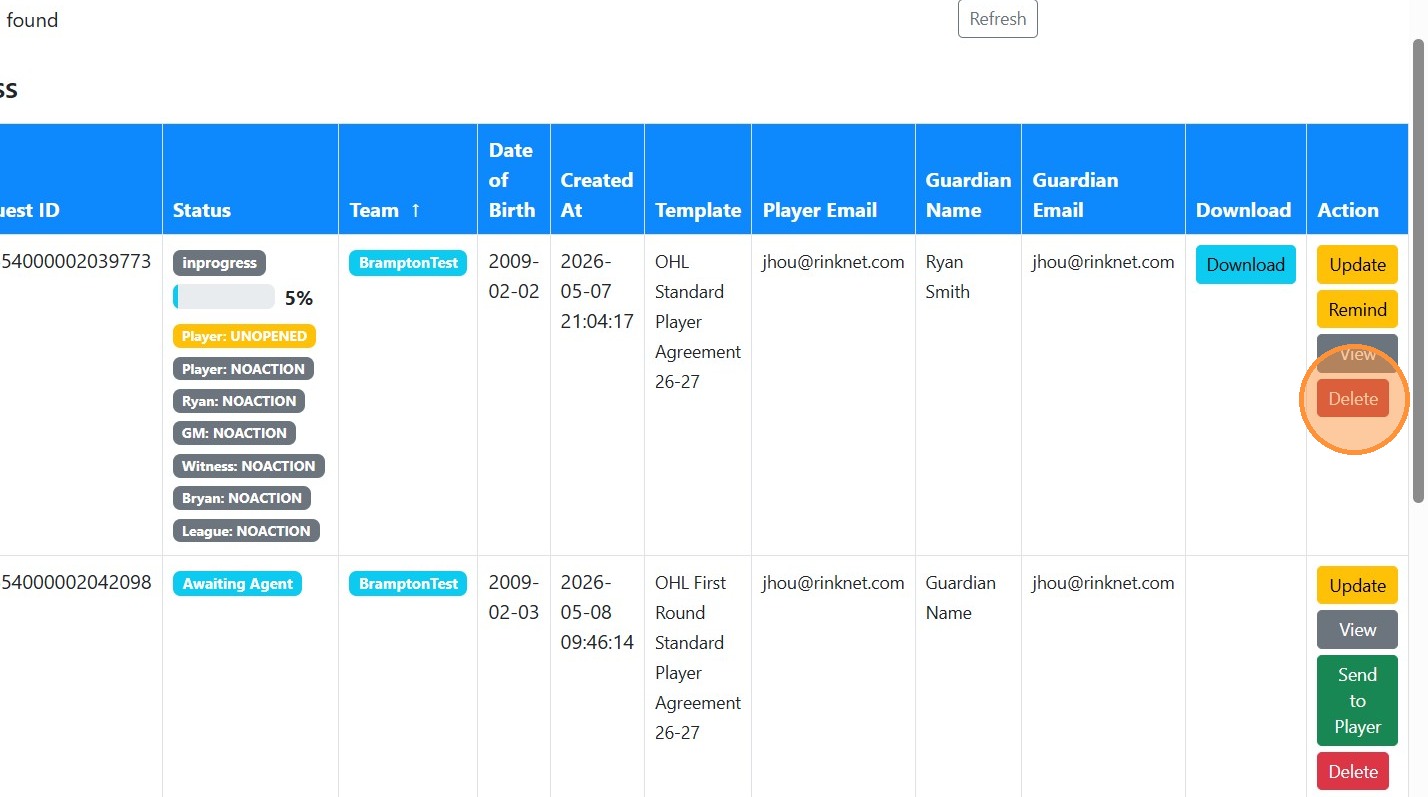
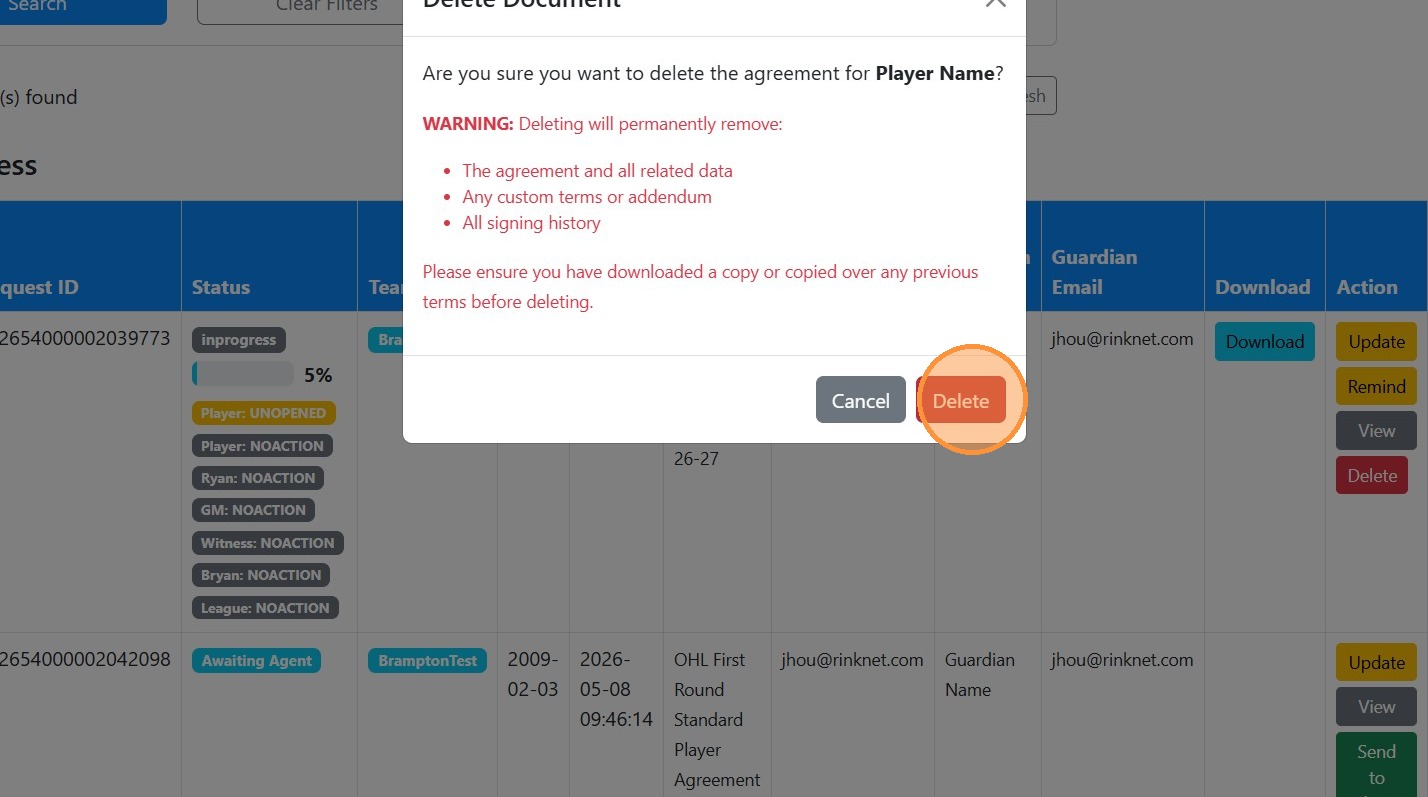
18. Click 'Delete' to remove agreement.
19. Confirm deletion in confirmation modal.
Related Articles
Create your 1Rink account on your RinkNet Dashboard (Scout)
1Rink allows you to follow player feeds, connect and securely exchange messages with players that you search for in RinkNet. Learn more to create an account in this tutorial using your RinkNet dashboard. 1. Navigate to ...Exporting Player Information using Queries
Exporting Player Information Through a Query This knowledge base article outlines the steps to create a query in RinkNet, and the subsequent steps to create a list of the queried players and export their player information to a CSV (Excel) file. 1. ...Creating, Adding Players and Managing Lists in RinkNet Online
Creating, Adding Players and Managing Lists in RinkNet Online This guide offers a overview of managing player lists in RinkNet Online. It simplifies the process of creating and editing lists, adding players, and organizing them efficiently. With ...Connect to a player on 1Rink using RinkNet
1Rink allows you to follow player feeds, connect and securely exchange messages with players that you search for in RinkNet. Learn how you can see a player's feed which may include game posts, logs and videos they share in 1Rink and how you connect ...PowerPlay AI Player Evaluations
The new PowerPlay AI Evaluations features allows management to be able to evaluate data their teams on players to see where there are point of agreement, disagreement or potential questions. This is based on the scouting reports available from your ...